How to Launch Your Own Micro-Niche Guest Posting Site – Step-by-Step
Starting your own micro-niche guest posting site can be a profitable venture, especially if you want to build a platform where you can accept guest posts from...

Creating a micro-niche guest posting site is a smart strategy for beginners and intermediate guest posting students. Micro-niche sites focus on a very specific topic, allowing you to target a highly engaged audience, rank faster on search engines, and monetize efficiently through guest posts or affiliate promotions.
This guide will walk you through everything from understanding micro-niches to publishing content that attracts visitors and guest contributors.
1. What is a Micro-Niche?
A micro-niche is a narrowly focused segment of a broader niche. Instead of targeting a general topic like “fitness,” a micro-niche would focus on something specific like “yoga for seniors” or “home workout routines for beginners.”
Why Micro-Niches Work:
Less competition, making it easier to rank in search engines.
Higher engagement, because the audience is highly targeted.
Easier to establish authority, as content is specialized and valuable.
Pro Tip: Start small; you can always expand later into related sub-niches.
2. How to Choose a Micro-Niche
Choosing the right micro-niche is critical to the success of your guest posting site. Follow these steps:
Identify Your Interests & Skills
Choose a niche you are passionate about or have knowledge in.
Example: If you love cooking, you might narrow it down to “vegan dessert recipes.”
Analyze Market Demand
Use tools like Google Trends, Ahrefs, SEMrush, or Ubersuggest to check search volume.
Ensure people are searching for content in this micro-niche.
Evaluate Profitability
Check if advertisers, affiliates, or guest contributors are active in this niche.
Example: “Vegan meal plans” might have affiliate products you can promote.
3. Selecting a Low-Competition Micro-Niche
Low competition ensures your site ranks faster and attracts traffic more easily.
Use SEO Tools: Check the difficulty score for target keywords in your micro-niche using SEMrush or Ahrefs.
Long-Tail Keywords: Focus on specific long-tail keywords like “beginner vegan keto dessert recipes” instead of broad terms.
Check Existing Sites: Look for niches with few authoritative websites dominating the results.
Pro Tip: The lower the competition but decent search demand, the faster you can establish authority.
4. How to Select Categories for Your Micro-Niche Site
Organizing your content into categories is essential for user experience and SEO.
Define 3–5 Core Categories: Cover subtopics under your micro-niche.
Example for “vegan desserts”:Cakes & Pastries
Cookies & Snacks
Quick & Easy Recipes
Seasonal Desserts
Use Tags for Specific Topics: For each article, include tags like “keto-friendly,” “chocolate,” “gluten-free” to improve internal linking and searchability.
Maintain Simplicity: Avoid too many categories; keep the site focused and easy to navigate.
5. Content Strategy for Micro-Niche Websites
Content is the backbone of your micro-niche site. The goal is to create high-value content that attracts traffic and guest posts.
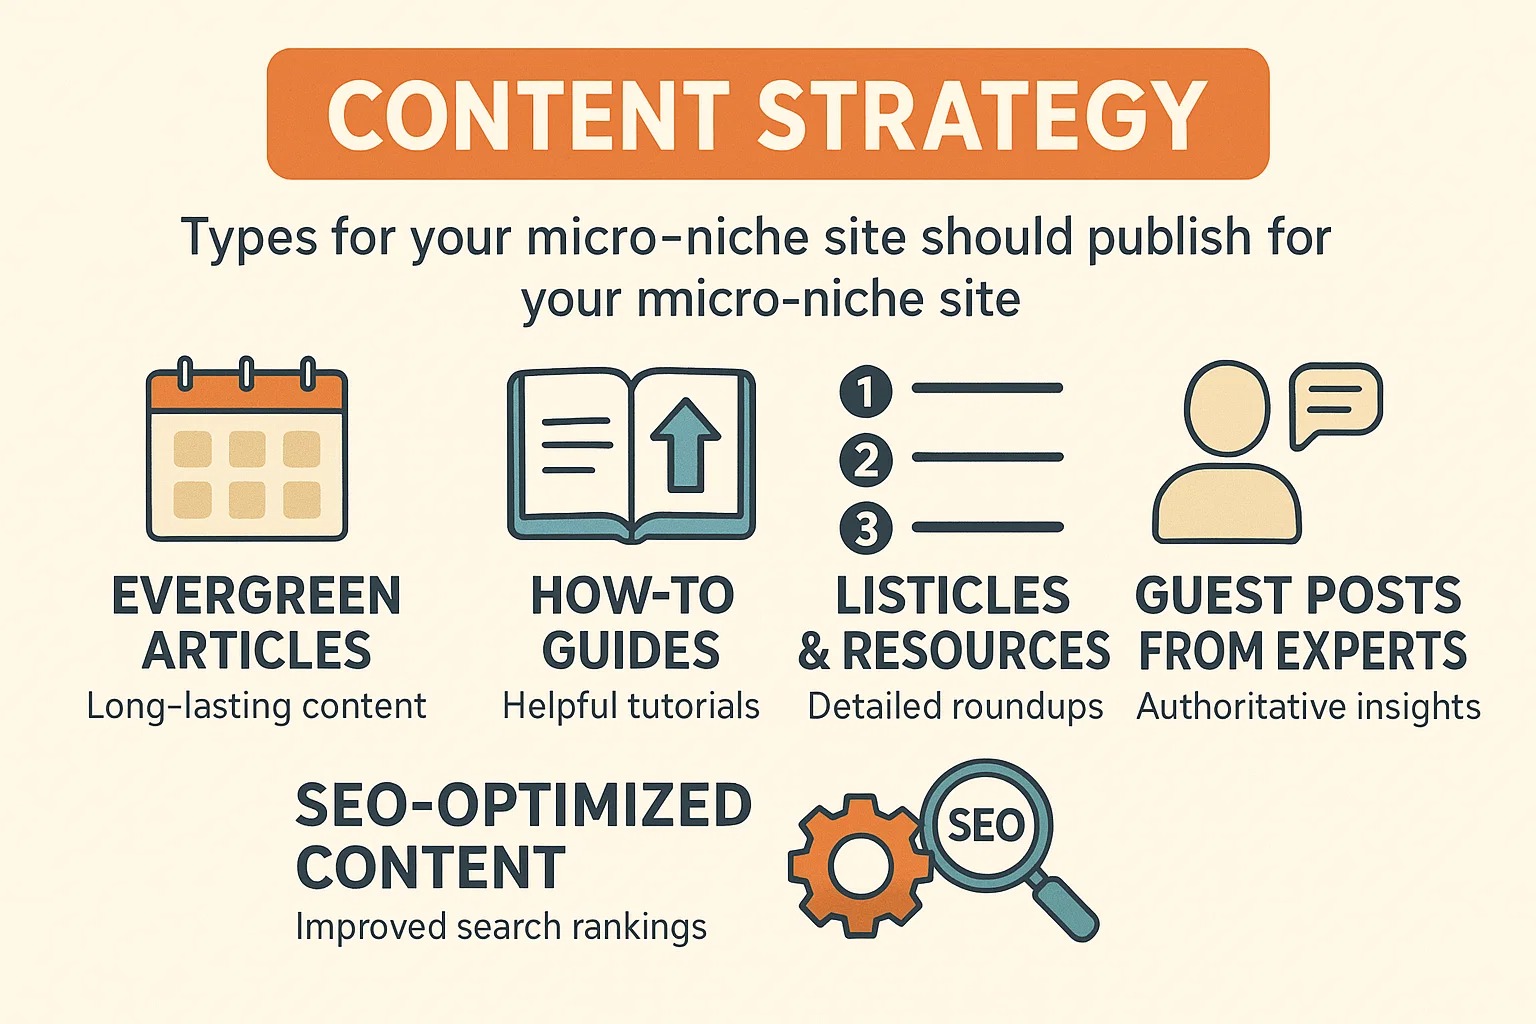
What Type of Content to Publish:
Evergreen Articles: Content that remains relevant for months or years.
Example: “Top 10 Easy Vegan Desserts for Beginners”
How-To Guides & Tutorials: Step-by-step guides attract organic traffic and build authority.
Example: “How to Make Vegan Brownies in Under 30 Minutes”
Listicles & Resources: These are easy to read and highly shareable.
Example: “15 Vegan Ingredients Every Home Baker Should Have”
Guest Posts from Experts: Invite niche experts to contribute, increasing credibility.
Example: A vegan chef guest post on your “Recipes” category.
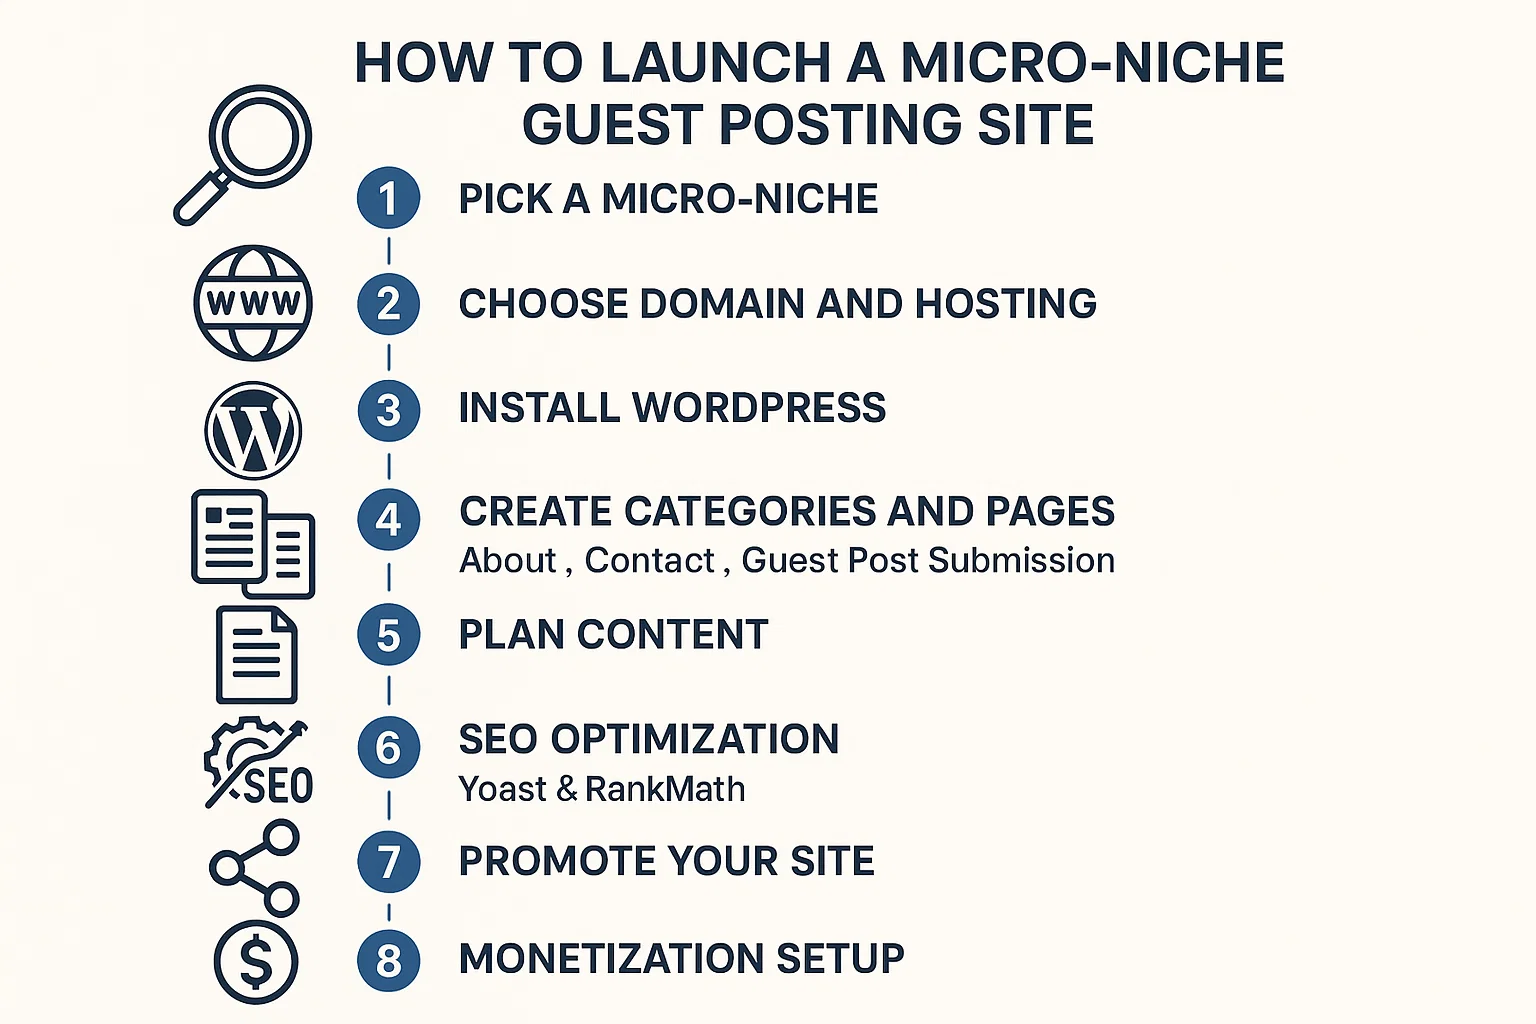
6. Step-by-Step Launch Process
Domain and Hosting: Pick a domain related to your micro-niche and choose a fast, reliable hosting provider.
Install WordPress: Use a lightweight, responsive theme optimized for content and speed.
Setup Categories and Pages: Create main categories, About, Contact, and Guest Post Submission pages.
Content Planning: Draft 10–15 high-quality articles before promoting or accepting guest posts.
SEO Optimization: Use plugins like RankMath or Yoast, optimize images, and implement internal linking.
Promote Your Site: Share on social media, niche forums, and reach out to potential guest contributors.
Monetization Setup: Add guest post submission guidelines, pricing (if paid), and affiliate links where applicable
7. Tips for Success
Focus on quality over quantity: A few high-quality posts can outperform dozens of low-value posts.
Consistency is key: Publish regularly to maintain SEO visibility.
Engage with the community: Comment on other blogs in your micro-niche and connect with influencers.
Monitor analytics: Use Google Analytics or Rankar.ai tools to track traffic, backlinks, and engagement.
Update content: Refresh older posts to improve SEO and maintain relevance.
Conclusion
Launching a micro-niche guest posting site is a powerful strategy for Level 2 students to establish authority, attract guest contributors, and monetize content effectively. By choosing the right niche, organizing categories, and creating high-quality content, you can build a website that scales, drives traffic, and generates revenue.
Remember, focus on low-competition niches, evergreen content, and proper SEO optimization, and your micro-niche site will become a valuable asset for both your guest posting journey and potential clients.